 Salman Mahmood


1 min read
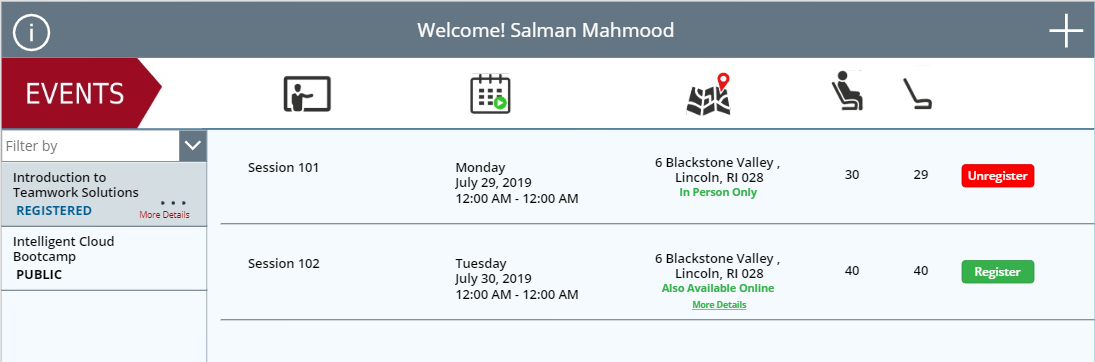
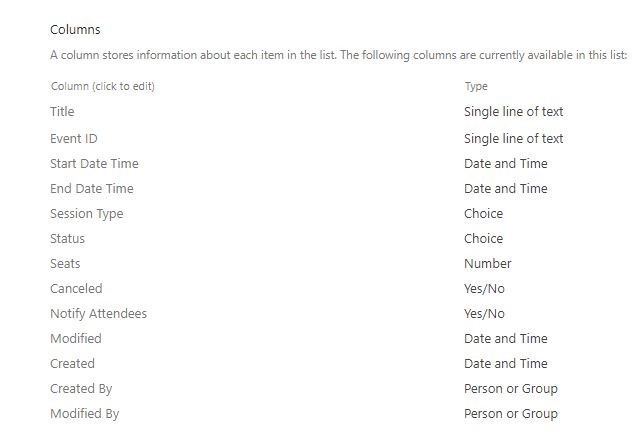
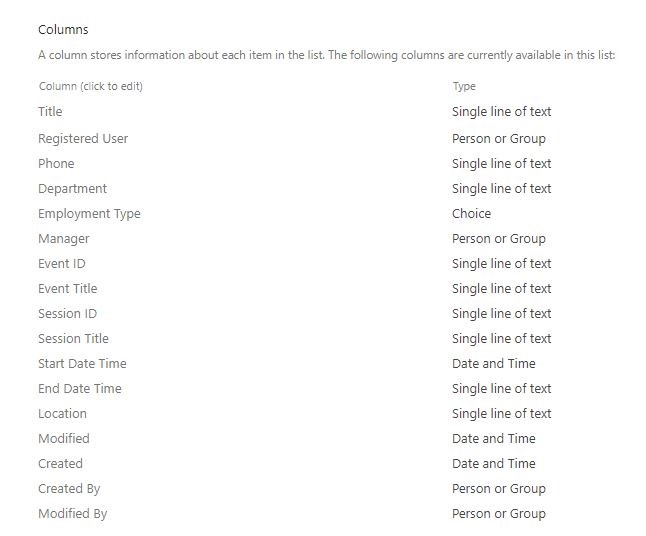
Build More on SharePoint with PowerApps Part 2: Creating an Event Registration App in PowerApps
This blog is a follow-up to part one of this series, where we are providing a how-to guide to create a PowerApp that extends the functionality of...